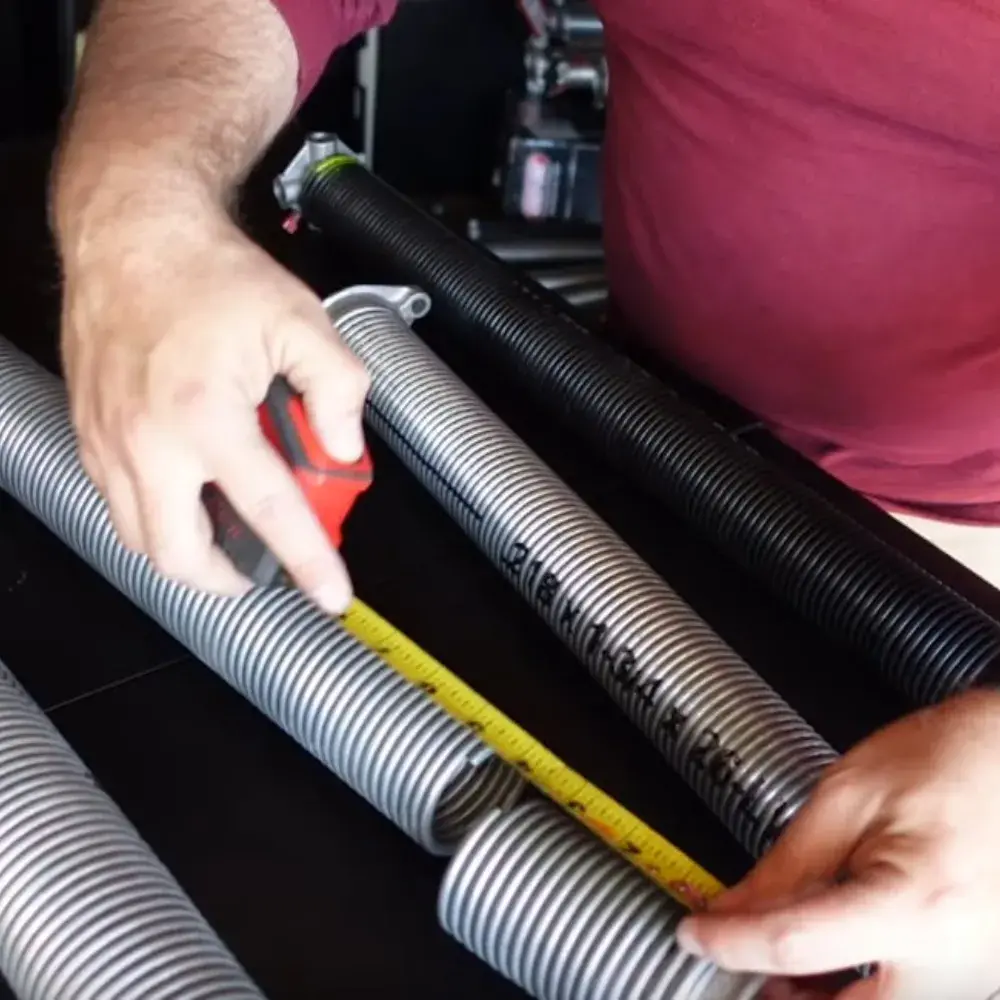
Garage door springs play a crucial role in the operation of your garage door. Over time, these springs can wear out and need replacement. This guide will walk you through the steps of a professional garage door spring replacement, ensuring safety and efficiency.
Gather the Necessary Tools and Materials
Before starting the garage door spring replacement, make sure you have the following tools and materials:
- Replacement springs (torsion or extension)
- Winding bars
- Socket wrench
- C-clamps or locking pliers
- Safety glasses and gloves
Disconnect the Power
Safety is paramount when working with garage door springs. Begin by disconnecting the garage door opener from the power source to prevent accidental operation.
Secure the Door
Next, ensure the garage door is fully closed. Use C-clamps or locking pliers to secure the door to the track. This prevents the door from moving during the replacement process.
Release the Tension on the Springs
Carefully release the tension on the garage door springs. For torsion springs, insert a winding bar into the winding cone and slowly loosen the screws. For extension springs, carefully detach the spring from the track and remove the safety cable.
Remove the Old Springs
Once the tension is released, you can safely remove the old springs. For torsion springs, slide them off the torsion bar. For extension springs, detach them from the brackets and pulleys.
Install the New Springs
Install the new garage door springs by following the reverse process of removal. For torsion springs, slide them onto the torsion bar and secure them with winding cones. For extension springs, attach them to the brackets and pulleys, ensuring they are correctly aligned.
Tighten the Springs
For torsion springs, use the winding bars to carefully tighten the springs, following the manufacturer’s recommended number of turns. For extension springs, reattach the safety cable and ensure the spring is properly tensioned.
Test the Door
Reconnect the garage door opener to the power source and test the door’s operation. Check for smooth and balanced movement, and make any necessary adjustments to the springs’ tension.
Perform Regular Maintenance
To prolong the life of your new springs, perform regular maintenance. Lubricate the springs, inspect them periodically for wear, and schedule professional inspections to ensure optimal performance.
By following this step-by-step guide, you can safely and effectively complete a garage door spring replacement. If you prefer professional assistance, contact MG Garage Door Repair Northbrook. Our expert team is ready to help you with all your garage door needs, ensuring safety and reliability.
Learn More
Understanding Different Types of Garage Door Springs and Their Replacement Needs
Common Mistakes Homeowners Make with Garage Door Spring Replacement

