
Garage door springs play a crucial role in the overall function of your garage door system. Over time, these springs can wear out and need replacement to ensure smooth and safe operation. Replacing them may seem challenging, but by following safety precautions and knowing the proper steps, you can handle garage door spring replacement effectively and securely. Here’s a step-by-step guide to help you through the process.
Understanding the Types of Garage Door Springs
Before diving into the replacement process, it’s essential to understand the different types of garage door springs: torsion and extension springs. Torsion springs are mounted above the door and use torque to lift and lower the door, while extension springs are positioned on either side and stretch to provide the necessary force. Knowing which type your garage door uses will help you prepare the correct tools and techniques for a successful garage door spring replacement.
Why Safety is Key During Spring Replacement
Replacing a garage door spring is not just about mechanics; it’s also about safety. These springs hold significant tension, which, if released improperly, can cause serious injury. It’s important to disconnect the garage door opener and ensure the door is fully lowered before starting any work. Wearing protective gear, such as safety glasses and gloves, is recommended to reduce the risk of harm during the garage door spring replacement process.
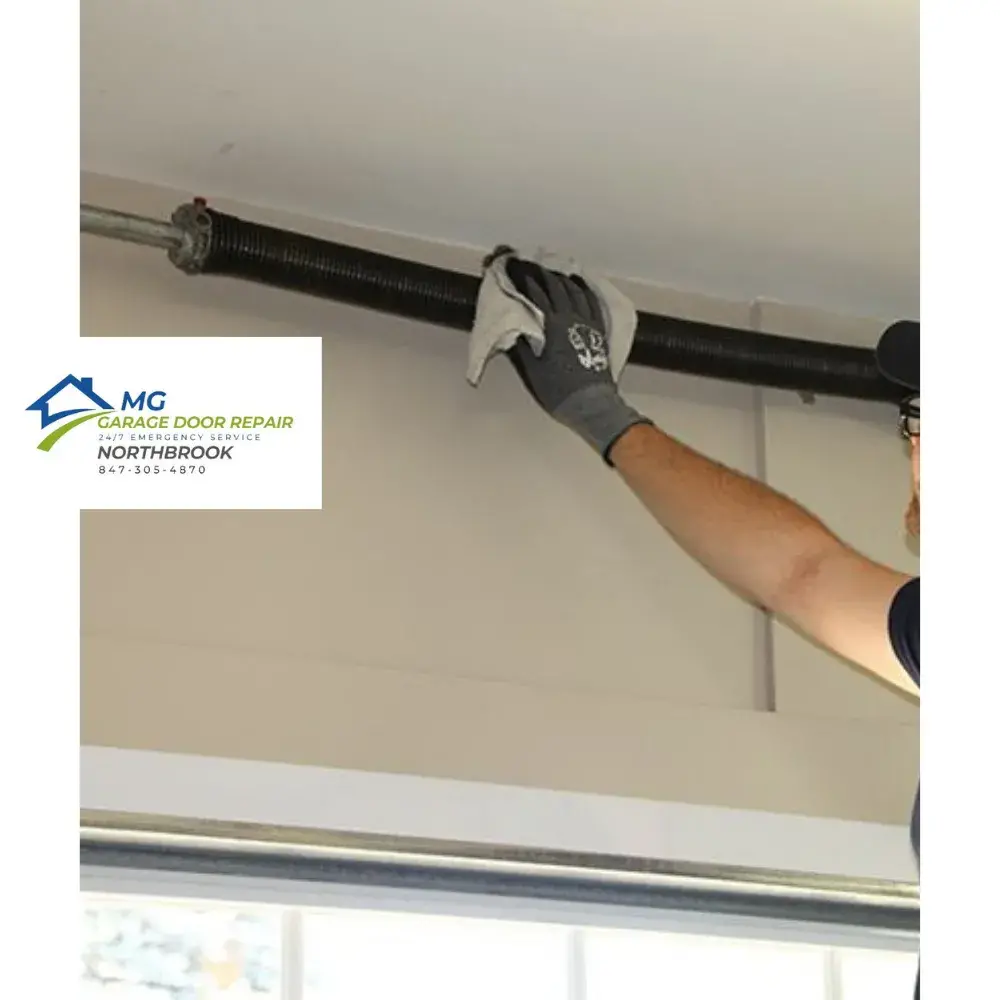
Step-by-Step Process for Garage Door Spring Replacement
Once you’ve identified the spring type and ensured all safety measures are in place, it’s time to begin the process. Start by loosening the set screws and carefully unwind the spring to release tension. Ensure you’re using the right winding bars to control the movement. Next, remove the old spring, making note of how it was installed. Install the new spring in the same manner, rewinding it to the appropriate tension. Always double-check that the spring is secure before reconnecting the garage door opener to avoid issues during operation.
Testing the New Spring for Proper Function
After successfully completing the garage door spring replacement, it’s time to test your work. Gently open and close the garage door manually to ensure smooth movement and proper tension. If the door feels balanced and moves effortlessly, you’ve done the job right. It’s also wise to re-engage the garage door opener and test it electrically, watching for any unusual sounds or movements. If anything feels off, it’s best to consult a professional for further inspection.
Replacing your garage door springs safely can extend the life of your garage door system, but it’s important to approach the task with caution and care. With the right tools and knowledge, garage door spring replacement can be completed efficiently, ensuring your door operates smoothly for years to come.
Learn More
Common Mistakes in Garage Door Spring Replacement and How to Avoid Them